Showing posts with label cabinets. Show all posts

Sunday, July 29, 2018

Pantry Cabinet 9

I finally finished the pantry cabinet! It was ungainly to move around to get to each of its sides. While working on it, it took up my entire living-room floor. I have the bruises and scrapes on my legs to prove it!


While re-loading the cabinet, I dropped a can and put a major ding in the floor of the cabinet. Sheesh!


The lighting in this next photo looks weird. In real life, though, the entire cabinet is a light green.


Also see:
Pantry Cabinet 1
Pantry Cabinet 2
Pantry Cabinet 3
Pantry Cabinet 4
Pantry Cabinet 5
Pantry Cabinet 6
Pantry Cabinet 7
Pantry Cabinet 8


We've been getting a lot of rain lately. There have been times I have found George sleeping soundly curled up on the grass during a pouring rainstorm. Crazy old man.   :-(   On this day, he was smart enough to sleep in the JayBee's entryway to get out of the rain.


Sunday, July 15, 2018

Entry/Office Cupboard 5

Over the last week or so, I have been adding layers of paint and polyurethane to the entry/office cabinet. Tedious, slow work, especially given that it's such a small cabinet.


Here it the cabinet with the beadboard back inserted. I can't hold it in place in the corner where it will be installed because there is too much stuff stored there at the moment.


I have to cut light switch and outlet holes in the beadboard, and install the cabinet on the wall where it belongs. Then it will be completely done!

Also see:
Entry/Office Cupboard 1
Entry/Office Cupboard 2
Entry/Office Cupboard 3
Entry/Office Cupboard 4

Monday, September 4, 2017

Radiant Barrier (Almost) Done

After installing long strips of radiant barrier on the rest of the JayBee's ceiling,


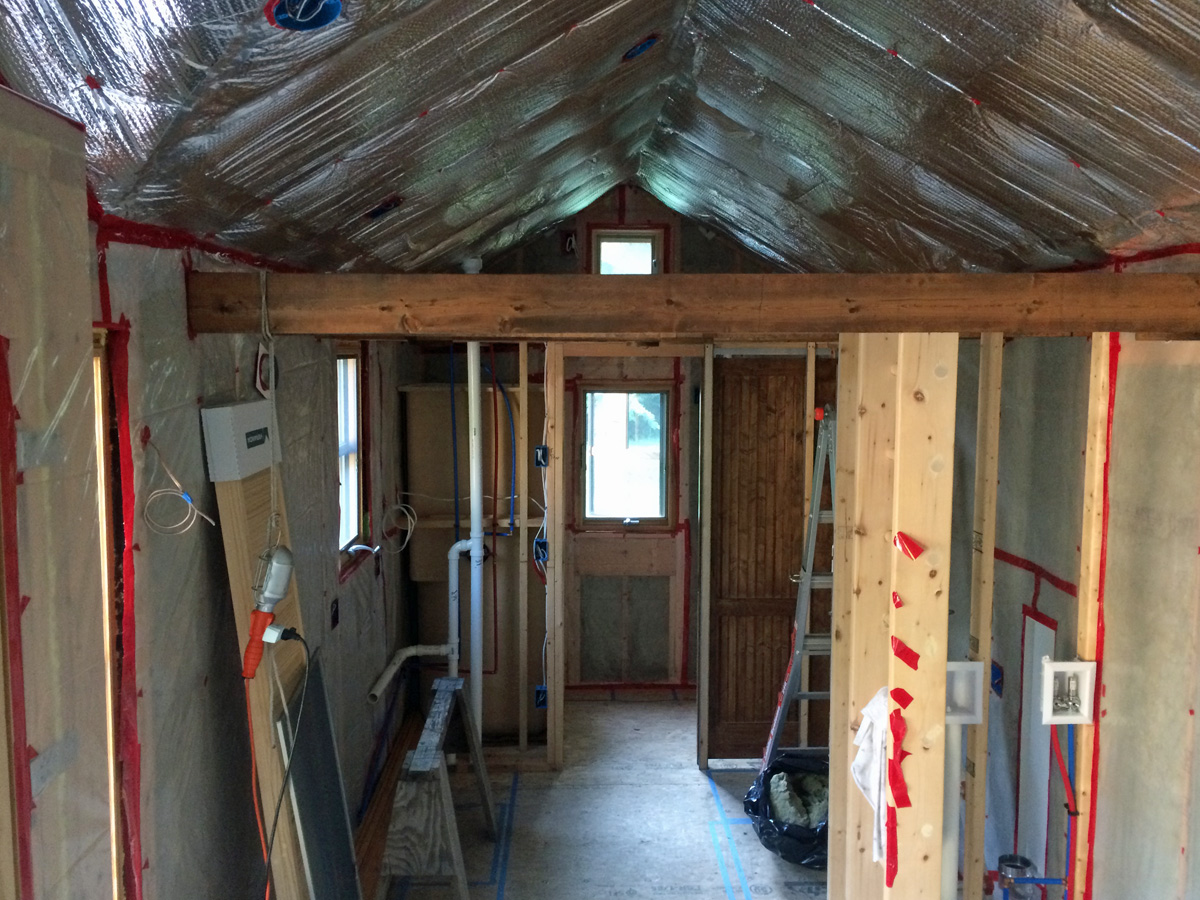
I should be declaring that the entire radiant/vapor barrier is done. Unfortunately, I ran out of the tape I use to seal the joints and breaks, and the resupply I have ordered has not yet arrived. So, that means it is close to done, but not quite.

In the meantime, here is a puzzle. I have begun to install these boards in the closet wall. This is the view from the kitchen side.


This is the view from inside the closet.


Maybe you can guess what the boards are for? When I'm done installing them, I'll let you know their purpose.

Monday, April 3, 2017

Progress Amidst the Snow (also Entry/Office Cupboard 4)

And the snow keeps on coming!

This was Saturday. Snowed all day. [To you-know-who who plans to leave Hawaii and return to Maine this month: Are you sure you want to come back to this?]


Even with the snow, I kept busy with JayBee projects. I have these stainless steel racks I'm going to use to help me store plates. I decided I didn't want them to be shiny.


So I applied oil-rubbed bronze paint to them.


Remember this cabinet?


I was worried I was going to ruin it as I moved around the JayBee installing insulation, so I took it inside the house. I drilled a couple of extra holes for cables, and I started painting.


The beadboard in the back of the cabinet is now painted barn red. I love milk paint and no-VOC finish!


Most of the new snow melted on Sunday. It may not be easy to see all of the ducks that are out on the river in this shot...


All of those white dots stretched out in a line are ducks.


Saturday, July 30, 2016

Scrambling in All Directions

My work on the house these last few weeks has gone in a zillion directions. We've had a lot of very hot, humid days. When the heat and humidity wipe me out so that I have to cut back on the more strenuous activities, I move to my long list of little things that need to be done...

No one would believe how long I spent getting the shingle guide installed on the bottom of the north wall of the house. Part of the challenge was handling the 24-foot-plus length of the board all by myself on that steep slippery hillside. The bigger problem was that the northwest corner of the house is just about sitting on the ground, so there wasn't enough room for the guide to fit. I ended up cutting the last five feet of the guide to fit around the stumps, roots, and lumpy hillside.


Finally, the guide is set level and straight for the first course of shingles!


A nice thing about working on the north side of the house: all the beautiful flowers.


One tiny project: I grabbed a piece of 3" PVC pipe out of the trash that the plumber had thrown away, and I cut a short piece of it...


...to use in the bathroom as an easy way to store my hair dryer.


I removed the electrical box that was installed over the shower and replaced it with this light that has its own junction box built in. (Ignore the insulation sitting up there. It was pulled out of the ceiling when the plumber drilled the vent hole up through the roof. I want to confirm after a big rainstorm that the roof is not leaking around the vent before I re-install the insulation in the ceiling.)


This junction box for a light that will hang in the bathroom next to the window and over the sink has been bugging me for awhile. See how close to the corner of the bumpout it is? I've been thinking that the box is so close to the corner that, once the wall boards are installed, the light fixture won't fit.


I dug out the light fixture and held it up to the junction box. Sure enough--the light was not going to fit once the wall was done. So...I pulled out the insulation, removed the box from the stud, added a board as a spacer, and reinstalled the box.


I held the light fixture up to the box to confirm that it will fit.


And I reinstalled all the insulation.


Yes, I did cut a gazillion tiny pieces of cedar.


When I started assembling them, I had all kinds of trouble. I was trying to use stainless steel finishing nails, but the wood pieces were too delicate for that--even with pre-drilling the holes. Once I switched to using staples, the cupboard went together a little easier.


Finally, I ended up with a shelving unit that is less than 3" wide and over 45" high.


This shelving unit is for a hidden space in the bathroom. The alcove next to the shower in the bathroom bumpout is going to have a built-in cabinet with shelving. In the left side of the alcove, there is a space between the studs that backs up against the side of the shower. Here is the shelving unit starting to be slid into that hidden space.


When it's completely installed, you can't see it...


...unless you stick your head into the alcove to see it.


I made another, smaller shelving unit to put in the top part of the hidden space.


Here's a peek around the corner to see it.


Just standing in the bathroom and looking at the alcove, you can't see all the extra shelves. I have plans for little hidden gems that make use of all the spaces in this house!


One last little project: Here is the start of my TV hanger--a piece of maple cut into a circle turntable. Combined with a lazy susan and a TV ceiling mount, it should allow me to install my flat screen so that it folds up out of the way when not in use but will also spin 360 degrees when it is dropped down.


Monday, February 29, 2016

Entry/Office Cupboard 3

After trimming every one of those 48 dowel pegs, I sanded the whole cupboard.


I set the beadboard back into the back of the cupboard.


Next step: Painting.

Also see:
Entry/Office Cupboard 1
Entry/Office Cupboard 2

Sunday, February 28, 2016

Entry/Office Cupboard 2

I cut 48 tiny pieces of dowel and glued them into all the cupboard's screw holes.


In the next photo, I'm holding the cupboard roughly in the spot it will be located. It's so much fun to see something I've had in my head for years coming to reality!


After cutting the beadboard for the back of the cupboard, I loosely taped it in place so I could see what it looks like. Not bad!


Next steps: Cut all 48 dowel pegs flush with the cupboard sides. Sand the cupboard. Paint it--for now, without the beadboard. (I think I should wait to cut the holes for the electrical boxes in the beadboard until after the inside walls of the JayBee are more done.)

Also see:
Entry/Office Cupboard 1
Entry/Office Cupboard 3


Today felt like spring. The ice is slowly letting go of my driveway. This may look bad to you but, to me, it looks SO much better than it has!


Not sure if you can tell from this next photo, but the channel eroding down the middle of the ice reveals that the ice slab is still 6-8 inches thick.


There was a funny moment today... I thought I was outside by myself. I was moving back and forth between the JayBee and the house, putting things away for the day. On one of my trips, something caught my attention out the corner of my eye. I was so startled, I leapt off the ground. Then I just chuckled. Crazy cat.