Showing posts with label flashing. Show all posts

Monday, October 26, 2015

Roofing 12

The first thing I noticed when I began work on the JayBee this morning--the glorious, sunny, bright, colorful day!


I installed the roofing pieces along the north side valleys.


I cut the opening for the east end awning window and flashed the bottom edge of the opening. Can't install the window, though, until I get roofing on the bumpout.


Also see:
Roofing 1
Roofing 2
Roofing 3
Roofing 4
Roofing 5
Roofing 6
Roofing 7
Roofing 8
Roofing 9
Roofing 10
Roofing 11
Roofing 13
Roofing 14
Roofing 15
Roofing 16
Roofing 17

Friday, July 17, 2015

Siding (West Wall) 1

Before I began to install shingles on the west end of the JayBee, I installed this piece of trim. Can you guess why it's there? (Answer below.)


The starter course installed.


After I had half of the first official course of shingles installed...


I realized I had forgotten to put flashing on the outer corners of the bumpout. Oops! I went ahead and installed it at this point.


After I finished installing the first row, half of my mistake was hidden.


After the second row was done, my mistake was completely hidden.


[Answer: The trim at the bottom of the west end is where the JayBee's license plate will hang if/when it travels down the road.]

Also see:
Siding (West Wall) 2
Siding (West Wall) 3
Siding (West Wall) 4
Siding (West Wall) 5
Siding (West Wall) 6
Siding (West Wall) 7
Siding (West Wall) 8
Siding (West Wall) 9
Siding (West Wall) 10


Summertime low tide on the river.


The Trick to Flashing an Inner Corner

Before I first started applying flashing and ice & water shield, I was warned to be careful how I applied it because, once it touched something, that was where it was going to stay.  Initially, I didn't have this problem because I ended up applying most of it during the winter months. Not only was it not exceptionally sticky, but I usually had to use a heat gun to heat it up enough to get it to stick.

Using these materials during the summer months is a different experience. When flashing the inner corners of the east end bumpout, I learned the hard way that a special technique is required in order to not end up with a tangled, stuck-together ball of flashing. If you peel the backing off and try to stick the flashing in the corner, it ends up sticking fiercely to the housewrap before you can push it all the way into the corner. If you manage to wrench it off to try to re-stick it, it ends up sticking to itself. Frustrating, messy, and ends up wasting a bunch of expensive material.

Out of necessity, I devised a different approach. After cutting a piece of flashing the correct length, I peel the backing off it.


Then I cut the peeled-off backing into strips and re-apply it to the sticky side of the flashing, leaving a sticky gap in the middle.


I fold the flashing in half, sticky side out, and push the sticky middle part into the inside corner.


One side at a time, I peel the strips of backing off and seal the flashing against the housewrap.


Voilá! It takes a little time to use this technique, but it actually saves time and material (and headache!) in the end.


After I applied the flashing to the inner corners of the west end bumpout, I installed the corner trim.


My sweet George.


Bear is fine. He's been carousing at night and sleeping during the day, so he hasn't been around for photos. George used to hide all summer long--to stay out of the heat. Maybe he's not minding the heat so much in his old age. This summer he's been sleeping in the yard all day--sometimes directly in the sun. Lots of photo opportunities!

Wednesday, July 15, 2015

Window Trim 7

Since I had made the trim for the bathroom window when I constructed all the other trim for the downstairs windows, it was a fairly easy job to install it.


I had also previously made the metal flashing for the top of the window trim, so I installed that as well.


Installed bathroom window--from the inside.


Also see:
Window Trim 1
Window Trim 2
Window Trim 3
Window Trim 4
Window Trim 5
Window Trim 6 (Check out the weather conditions when I was last installing window trim!)
Window Trim 8
Window Trim 9

Windows 4

Even though it rained on and off today, I decided it was window-installation day for the west end of the JayBee. First, I opened up the housewrap.


In went the sill corners.


And the sill waterproofing.


It was so wet, I was going to quit after installing the window. But, then, the rain stopped, so I quickly installed the flashing around the window as well.


Also see:
Windows 1
Windows 2
Windows 3

Sunday, June 14, 2015

Siding (East Wall) 1

All that work siding the south wall convinced me that I do not want to weave shingles on the inside corners around the bumpouts on the east and west ends. I added flashing on the inside and outside corners on the east end.


I cut 1" x 1" pieces of trim, stained them, and installed them on the inside corners.


Up next: More shingling!

Also see:
Siding (East Wall) 2
Siding (East Wall) 3
Siding (East Wall) 4
Siding (East Wall) 5
Siding (East Wall) 6
Siding (East Wall) 7
Siding (East Wall) 8
Siding (East Wall) 9
Siding (East Wall) 10
Siding (East Wall) 11
Siding (East Wall) 12
Siding (East Wall) 13

Wednesday, April 22, 2015

Corner Trim 4

In order to install the corner trim on the northwest corner of the JayBee, I had to get the housewrap up there first. I opened up the west end...


...added the radiant barrier...


...and the housewrap. Then I wrapped the flashing around the corner.


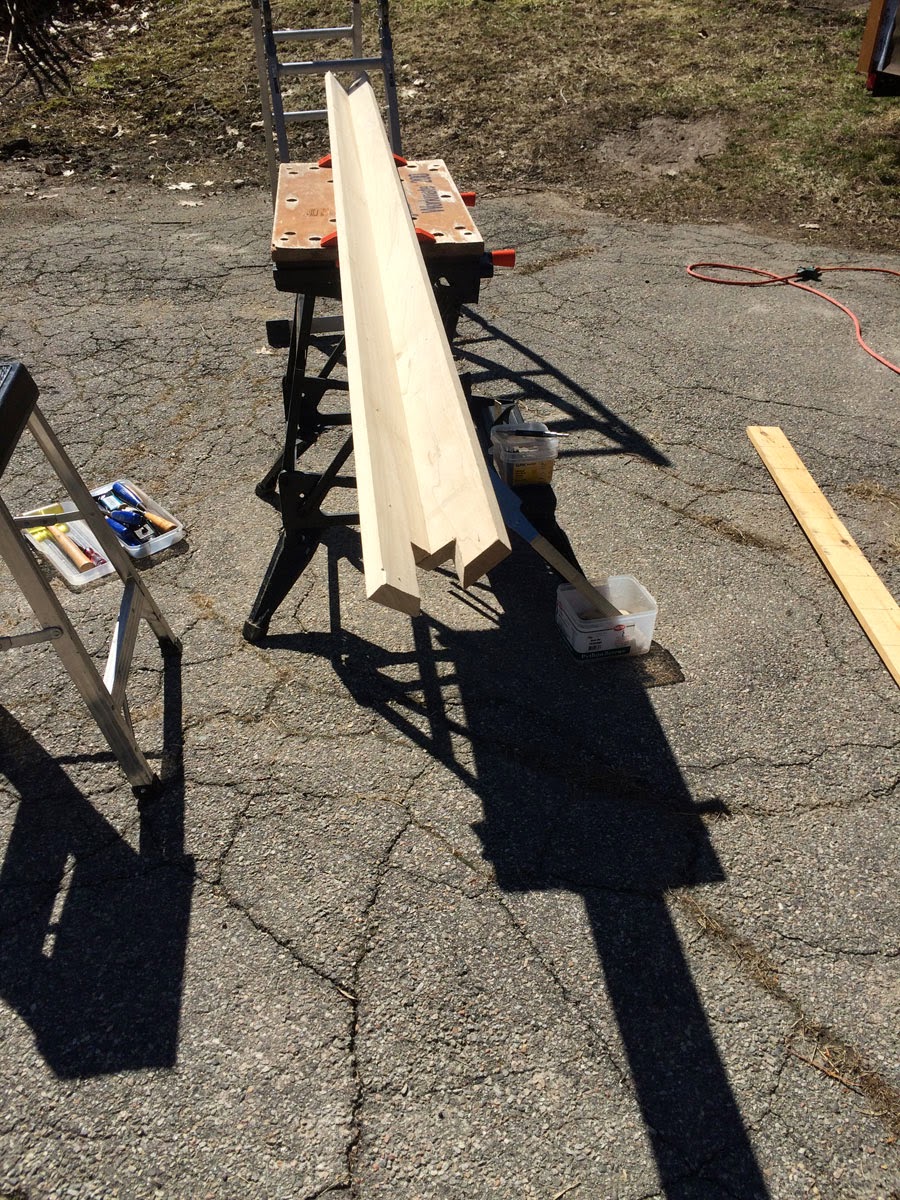
Templates for the trim.


Trim boards cut and assembled.


Stained and installed!


Woo hoo! Another project done.

Also see:
Corner Trim 1
Corner Trim 2
Corner Trim 3


Yesterday's heavy rain pretty much wiped out the remaining snow. At the start of the day, there were just a few patches of snow and ice in the yard.


By the end of the day, the snow was all gone!

Sunday, April 19, 2015

Corner Trim 3

Last night's rain cleared off, so I worked on the corner trim on the northeast corner of the JayBee today.

First, the flashing. You probably can't tell from the photo below, but the ladder is mired in mud. Good, mucky clay! At least the snow is almost completely gone from the north side of the JayBee.


I noticed today that the housewrap on the east and north sides of the JayBee looks almost new--not nearly as worn and faded as on the south side. Guess it's that sun doing its thing.

The templates. Some of you may be wondering why I make new templates for each corner. Can't I just use the first set I made? Those corner rafters were so hard to install, I felt lucky to get each one up there. No two of them sit exactly the same way. (Hey, one person's hack job is another person's piece of art! :-)


Trim cut and joined.


Stained and screws ready.


Installed!


One more corner to go.

Also see:
Corner Trim 1
Corner Trim 2
Corner Trim 4

Saturday, April 18, 2015

Corner Trim 2

It occurred to me today that I didn't explain in my last post why I am installing corner trim on the JayBee. After all, there are really good reasons to forgo the corner trim and simply interweave the cedar shingles at the corners of the house: 1) It would be less expensive. Trim boards, especially long ones, are expensive. 2) Even though interweaving shingles takes some time, it would probably take less time than it takes to make the complicated cuts at the tops of the corner trim boards. 3) I think the house would be more aesthetically pleasing with interwoven shingles at the corners. So, why the corner trim then? If I was building this house on a non-moving foundation, I would not have corner trim. The JayBee is on a trailer, though; it is mobile and may go down the road at some point. If something ever struck a corner of the house, I figure a corner trim board could be replaced. Fixing smashed interwoven shingles would be a lot more difficult. I also think the shingles would be less likely to catch the wind at high speeds with the corner trim in place.

Originally, I thought I would install corner trim on every corner around the outside of the house. I have since changed my mind. I will use corner trim on only the four outermost corners of the house. All the other corners--around the east and west end bumpouts, and around the entryway--will have interwoven shingles.

I trimmed the southeast corner of the JayBee today. First, the templates...


then the cut and assembled trim boards.


Stained and ready for installation.


Done!


After I was done installing the corner trim, I double-checked the trim length with the story pole--and had a small heart attack because the trim was about a half inch too short. My mind was already racing through possible solutions when I realized that I had held the story pole upside down! (This after, anticipating I would do this very thing, I had purposely made large marks on the pole to identify which end is up!) I turned it around, and the trim was right on the mark.


Also see:
Corner Trim 1
Corner Trim 3
Corner Trim 4


As usual, Bear demanded pets and scratches when I took a break.