Showing posts with label entry. Show all posts

Wednesday, December 1, 2021

Progress Since Moving Day

Before the excavating company left me to my own devices, they leveled up the JayBee on stacks of cinder blocks.


They finished burying the electric lines that run from the pole to both the new shop and to the JayBee.

They also finished up the top of the driveway and made a nice little walkway to the front door.


After they left, I tweaked the leveling a bit to fix a low corner. Since I don't plan to ever move this house, I want it right before I anchor the house to the slab!


The electrician came and finished bringing the power from the power pole to the panel in the JayBee. 

I only have one working outlet inside the house at the moment because the prior electrician did not label a single wire he installed. I have a bit of work to do to get everything labeled before the panel can be all hooked up.

I found a plumber who said he could do the rest of the plumbing during Thanksgiving week, so I scrambled to get things ready for him. I stacked the tires more compactly under the JayBee to help give the plumber some maneuvering room.

Next came removing the axles and springs. Honestly, this had not even been on my radar. I just figured I'd leave the axles and springs attached--hanging out under the house. Once the plumber showed me, however, it was obvious there was no way he could plumb to the septic line under the house because the axles and springs were in the way. I could not find anyone who could do this work in the timeframe I needed it done, so I decided to do it myself. The thought of taking this on scared the livin' daylights out of me but, once I figured out how to disconnect the brake wiring from each axle end, I was on a roll. I bought an air impact wrench and a new face shield, and got all set up to start dismantling.


The air impact wrench worked great on all the nuts connecting the springs, but I could not maneuver it to reach the nuts holding on the u-bolts. For those, my arthritic hands had to make do with hand wrenches. It took me almost three hours to get the first one completely dismantled, but I did it!


Before letting all the axles drop to the ground, I propped them on boards and bricks so I could roll them to the correct side of the waste line while they were still up above it.


Finally, I got all the axles and springs off. The axles are stored up off the concrete, on pieces of plywood. I coated all the various nuts and bolts in a thick layer of grease and stored them away. See how the plumber can now access the waste line under here?


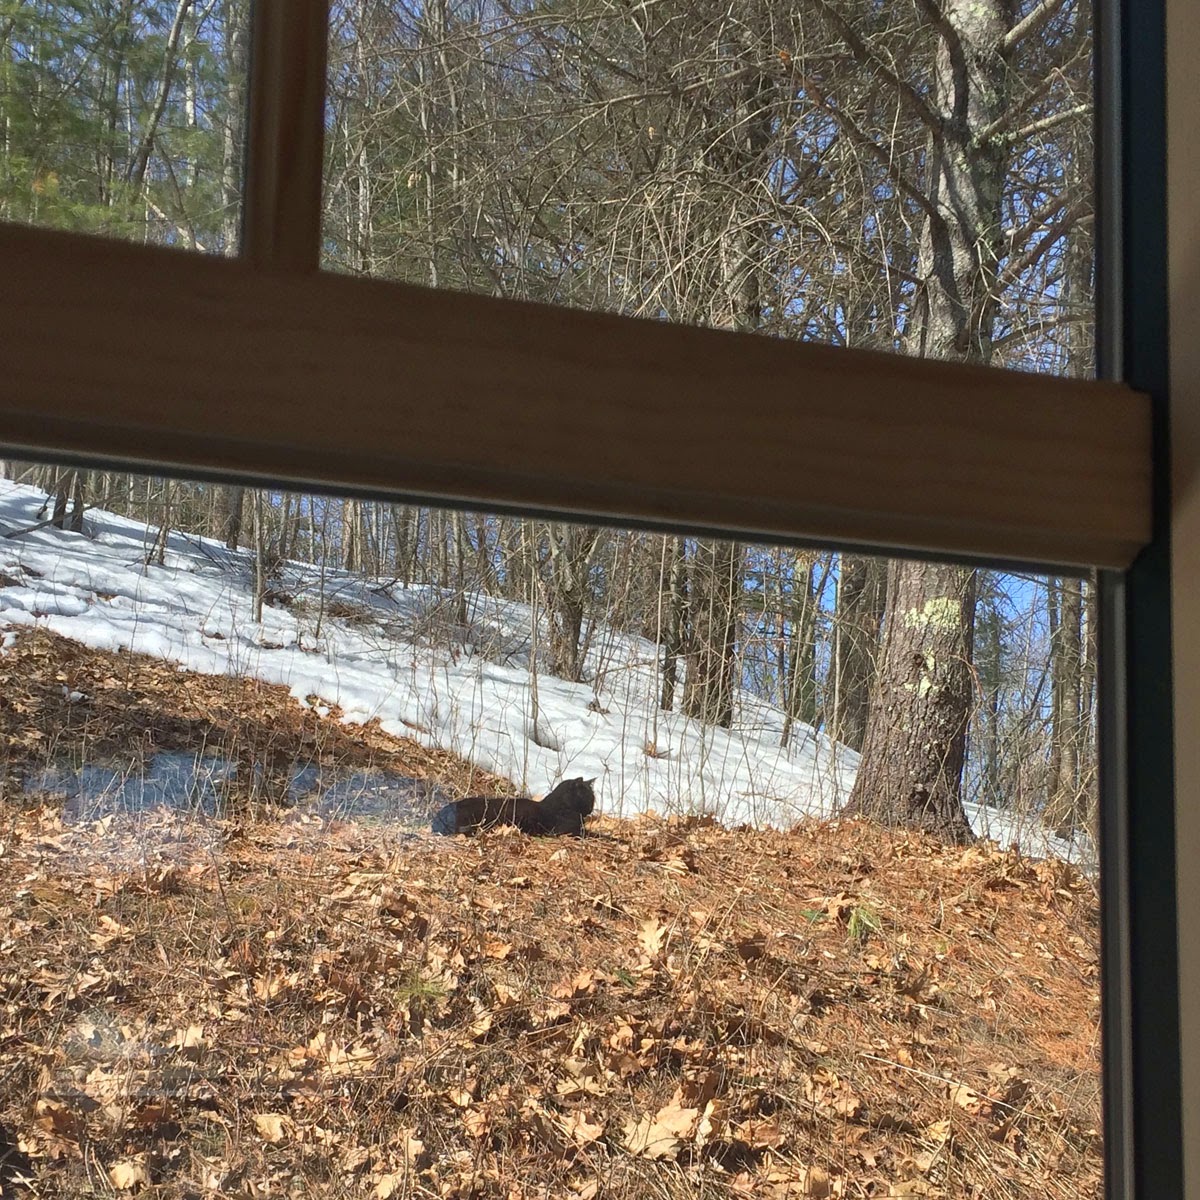
While I was sitting inside the JayBee, listening to a podcast and greasing up trailer parts, look who came to visit! I don't know his name, but he regularly wanders over from the neighbor's yard. Makes me wish George and Bear were still here to move into the JayBee with me.


I moved everything out of the end of the JayBee that has plumbing runs to make it easy for the plumber to get to things.


I installed the bathroom faucet and hung the sink on the wall...
 

...and hung the on-demand water heater.


I also installed the front steps--to make getting in and out of the house a whole lot easier. Railings and the rest of the deck to come--but probably not until spring.


Here's the bad news: The plumber did not show up, and he has not been in touch. The one phone number I have for him rings forever and then disconnects, so I have not been able to leave him a voice message. <sigh> I'm beginning to think I might end up buying some plumbing tools and doing this work myself. Stay tuned...


Friday, April 3, 2015

Steps 3

Anticipating assembling the steps for the JayBee, I made these step connectors.


And I made these pieces that I call "feet" for the steps.


Today was so warm; it actually reached 66 degrees! I decided today was setup day for the steps. First, though, I added another topcoat of stain/sealer to all of the steps. I added a non-skid additive to the stain so the surface of the steps will have a gritty surface rather than be super-slick when wet. (Every time I shoveled snow off the deck this winter, the surface of the deck boards was so slippery I had to work hard not to fall. Thus, the additive.)


I added a coat of the non-skid stain to the entryway step as well.


Here's the bottom step with the feet added.


And the bottom step with the connectors attached.


The middle step with the feet and connectors added.


Top step with feet.


Here are the top two steps assembled.


Finally, all the steps assembled and set in place!


Also see:
Steps 1
Steps 2


Very slowly, the snow is leaving my yard. I can see the top of my septic-pump caution sign again.


The hillside behind the JayBee faces south, so most of the snow is gone there.


Directly behind the JayBee, the snow has finally melted away from the the north wall of the house.


In the woods, though, there is still plenty of snow.


A few mornings ago, I was surprised to see frost not only on the top surface of everything, including the JayBee's roof, but all over the sides as well.


George spends all day outside again. Sleeping on the hillside...


...following me around and chattering at me all day...


...and sleeping in the hay up against the house. (The hay is exposed thanks to the FairPoint repair guy who stomped on the plastic earlier this week and tore it away from the house.)


Open water again! Today, large chunks of ice moved upstream on the incoming tide, and then back downstream on the outgoing tide.


Sunday, March 22, 2015

Plan for Deck and Steps (Steps 1)

I know I have been remiss with my postings. Sorry about that; I just haven't been in the mood to post. I have been continuing to work along...

I have decided on the layout for the deck and entry steps for the JayBee. The four larger pieces in the drawing below are the deck sections that are already built (and currently in use in front of the old house). I won't move them and the planters into place until I'm done working on the front of the JayBee. Until then, I'll use only the steps (numbered 1-3 in the drawing). Directly in front of the entryway, I'll set number 3 on the bottom, then 2 on top of that, and one of the 1s on top of that. (The other number 1 piece will be stored until the deck pieces are put into place. At that time, there will be two sets of steps leading to the deck, as in the drawing.)


Construction of the steps: The first thing I needed to do was cut the pressure-treated underpinnings for the steps. I really dislike working with pressure-treated wood but I think it makes the most sense for this part of the project. It has been frigid cold, and I think we must have set records for crazy strong winds, but we have had enough sun that I set up to cut wood outside.


After all the pressure-treated pieces were cut.


Here are some of the cedar decking boards--all cut, sanded, and stained.


Below is the base of step number 3. I built this three times! When I set the deck boards on top of the base after the first time I built it, the base was too long. Oops! I carefully figured out how much shorter I needed to make the middle three boards. I dismantled the base, re-cut the three pieces, and re-assembled the base. It was still too long! Oh my goodness, I really can make my life difficult sometimes. I had to dismantle the base again, cut the middle boards again, and re-assemble it all again. Finally, after the third time, I ended up with a base that was just right.

At this point, the deck boards installed just fine.


Next, I built one of the number 1 step bases. I only had to build it once! Funny how that made it all go so much quicker.


And with the cedar decking boards added...


Then I made another number 1 step. Those of you that are extremely observant may notice that these decking boards are slightly different from the ones I used on the other bases. It's true; the boards I bought recently don't exactly match the boards I already had. Close enough; they will have to do.


Tomorrow I hope to assemble the number 2 step.

Also see:
Steps 2
Steps 3


While I was working on assembling the steps today and the wind was howling, I caught sight of something flapping outside the JayBee door. I went outside to figure out what it was. The housewrap had torn in the wind. Most of the staples had pulled free along the entire bottom piece of housewrap, all the way to the southwest corner of the house. So, I took a detour to refasten the housewrap to the house and tape up the tear.


Boring, but important: I have been continuing to stain shingles.


The cats have been spending a little more time outside. They are as eager for spring to get here as I am. Check out who is sitting on top of the compost bin. If there wasn't still snow everywhere, George would be in stealth mode; we would never even see him in a photo like this.