Friday, August 26, 2016

Siding (North Wall) 10

I managed to get one more row of shingles up--without using a ladder. I really should have captured a picture of me with my feet wedged against the hillside and holding my weight, a couple shingles, and the staple gun against the wall of the JayBee. Given my lack of arm strength and my hand and wrist issues, it was exhausting!


Also see:
Siding (North Wall) 1
Siding (North Wall) 2
Siding (North Wall) 3
Siding (North Wall) 4
Siding (North Wall) 5
Siding (North Wall) 6
Siding (North Wall) 7
Siding (North Wall) 8
Siding (North Wall) 9
Siding (North Wall) 11
Siding (North Wall) 12
Siding (North Wall) 13
Siding (North Wall) 14
Siding (North Wall) 15


Hours after Bear was traumatized by his annual wellness appointment with the vet, I realized I hadn't seen him in quite some time, so I went looking for him. Found him hiding indoors in my closet.


Meanwhile, George slept. Nothing bothering him!


Thursday, August 25, 2016

Siding (North Wall) 9

Got two more courses of shingles done today. First one...


...then another.


It's almost looking like a finished house on the outside. Unfortunately, I'm going to have to wrestle with ladders on that hillside in order to shingle the rest of the north side. Like I need anything that slows me down more!

Notice George supervising.


Also see:
Siding (North Wall) 1
Siding (North Wall) 2
Siding (North Wall) 3
Siding (North Wall) 4
Siding (North Wall) 5
Siding (North Wall) 6
Siding (North Wall) 7
Siding (North Wall) 8
Siding (North Wall) 10
Siding (North Wall) 11
Siding (North Wall) 12
Siding (North Wall) 13
Siding (North Wall) 14
Siding (North Wall) 15


I saw Bear sleeping incognito today.


He must have sensed me watching him because he immediately looked up.


Tuesday, August 23, 2016

Loft Hatch 2

The clay on the north hillside behind the JayBee has been really slippery since the hard rain fell a few days ago. Therefore, I shifted gears and started work on the east end loft hatch.

I cut the hatch framing pieces out of lumber that was left over from framing the roof.


I stained the pieces.


I installed the framing pieces between ceiling joists in the east end loft.


All the screw holes pegged...


East end loft hatch done!


Also see:
Loft Hatch 1

Sunday, August 21, 2016

Siding (North Wall) 7

What a glorious day! A beautiful day for house building--blue sky, and a nice strong wind cooling things down all day. I installed another row of shingles. Here was my attempt at taking a picture from above the west end of the JayBee--not too successful.


From close up.


Almost finished another row--all but the shingles that must be custom-cut to fit under the window.


Also see:
Siding (North Wall) 1
Siding (North Wall) 2
Siding (North Wall) 3
Siding (North Wall) 4
Siding (North Wall) 5
Siding (North Wall) 6
Siding (North Wall) 8
Siding (North Wall) 9
Siding (North Wall) 10
Siding (North Wall) 11
Siding (North Wall) 12
Siding (North Wall) 13
Siding (North Wall) 14
Siding (North Wall) 15

You Know You're Taking Too Long to Build Your House When...

...house building becomes a way of life instead of simply a short-term project.

I wrote that to a friend the other day. Something about it being a good thing that I enjoy house building because it has become a way of life instead of a short- or medium-term project. Then I thought, "Uh oh; I think that has to go on my blog!"

Saturday, August 20, 2016

Siding (North Wall) 6

Another row of shingles installed. In the photo below, you can see how much clay mud has splashed up onto the lowest rows of shingles. Yuck! When I finish shingling this side of the JayBee, I'm going to scrub the mud off, and then protect/cover the lower rows with plastic until the house gets moved away from this hillside.


And another row.


I was getting all excited that I was more than half done with this side--until I counted the rows done. <sigh> Because the shingles are tall, they can be deceiving. I have to do two more rows before I'll be half way done.


Also see:
Siding (North Wall) 1
Siding (North Wall) 2
Siding (North Wall) 3
Siding (North Wall) 4
Siding (North Wall) 5
Siding (North Wall) 7
Siding (North Wall) 8
Siding (North Wall) 9
Siding (North Wall) 10
Siding (North Wall) 11
Siding (North Wall) 12
Siding (North Wall) 13
Siding (North Wall) 14
Siding (North Wall) 15

Friday, August 19, 2016

Pocket Door Wall Done!

I realized today that I could finish up the pocket door wall, now that the shower stall is permanently installed.

First, I installed the half-studs between the floor and the header.


Then, after a bit of a struggle (clearly this pocket-door hardware was not designed for a person to install a pocket door by themselves--but I've become a master of figuring out how to do things on my own), I hung the door! Bathroom door closed...


...and open! I'm a little concerned about how far above the subfloor the bottom edge of the door is. I think I did all my careful measuring for this wall back when I was sure I was going to install hardwood floors, and I thought there might be a lip/sill transition between the kitchen and bathroom floors. The door might be too high now that I plan to use porcelain tile on the floor. Hmmm...there's always something!


Also see:
Pocket Door 1
Pocket Door 2
Pocket Door 3
Pocket Door 4
Pocket Door 5
Pocket Door 6
Wall for Pocket Door


George has been more eager than usual to go for walks. He spends time pining in the driveway. Okay, a good part of the time he quickly shifts from pining to sleeping.


He eagerly runs down the driveway whenever he thinks there's a chance he might convince me to go for a walk.


You Know You're Taking Too Long to Build Your House When...

...you're starting to re-do some things and you haven't even moved in yet. 

I think I could do a whole series of posts that start with "You know you're taking too long to build your house when..." but I'll simply start with this one.

I decided to replace two of the exterior lights on the JayBee. I bought these two light-sensing, motion-sensing lights years ago.


By the time I got around to installing them on the JayBee, it was clear that one of the light sensors did not work. (The light came on whenever it sensed motion, even in broad daylight.) It probably never worked, but I took too long to figure that out, so I bought a replacement light. Even though these lights are advertised as "exterior" lights, it turns out that water collects inside them. When they would stop working, I emptied the water out, dried them out, and replaced the batteries...and the lights would work again--until the next time they filled up with water.

Finally, I'd had enough. I decided I just had to replace the lights entirely.

Step one: Remove the installed lights and the trim pieces they were installed on. Check!

The new lights are bigger, so I cut new, larger trim pieces. See one of them compared to the smaller size--below. Installing the new trim piece on the north wall was easy because I haven't installed shingles up that high on the wall yet. 


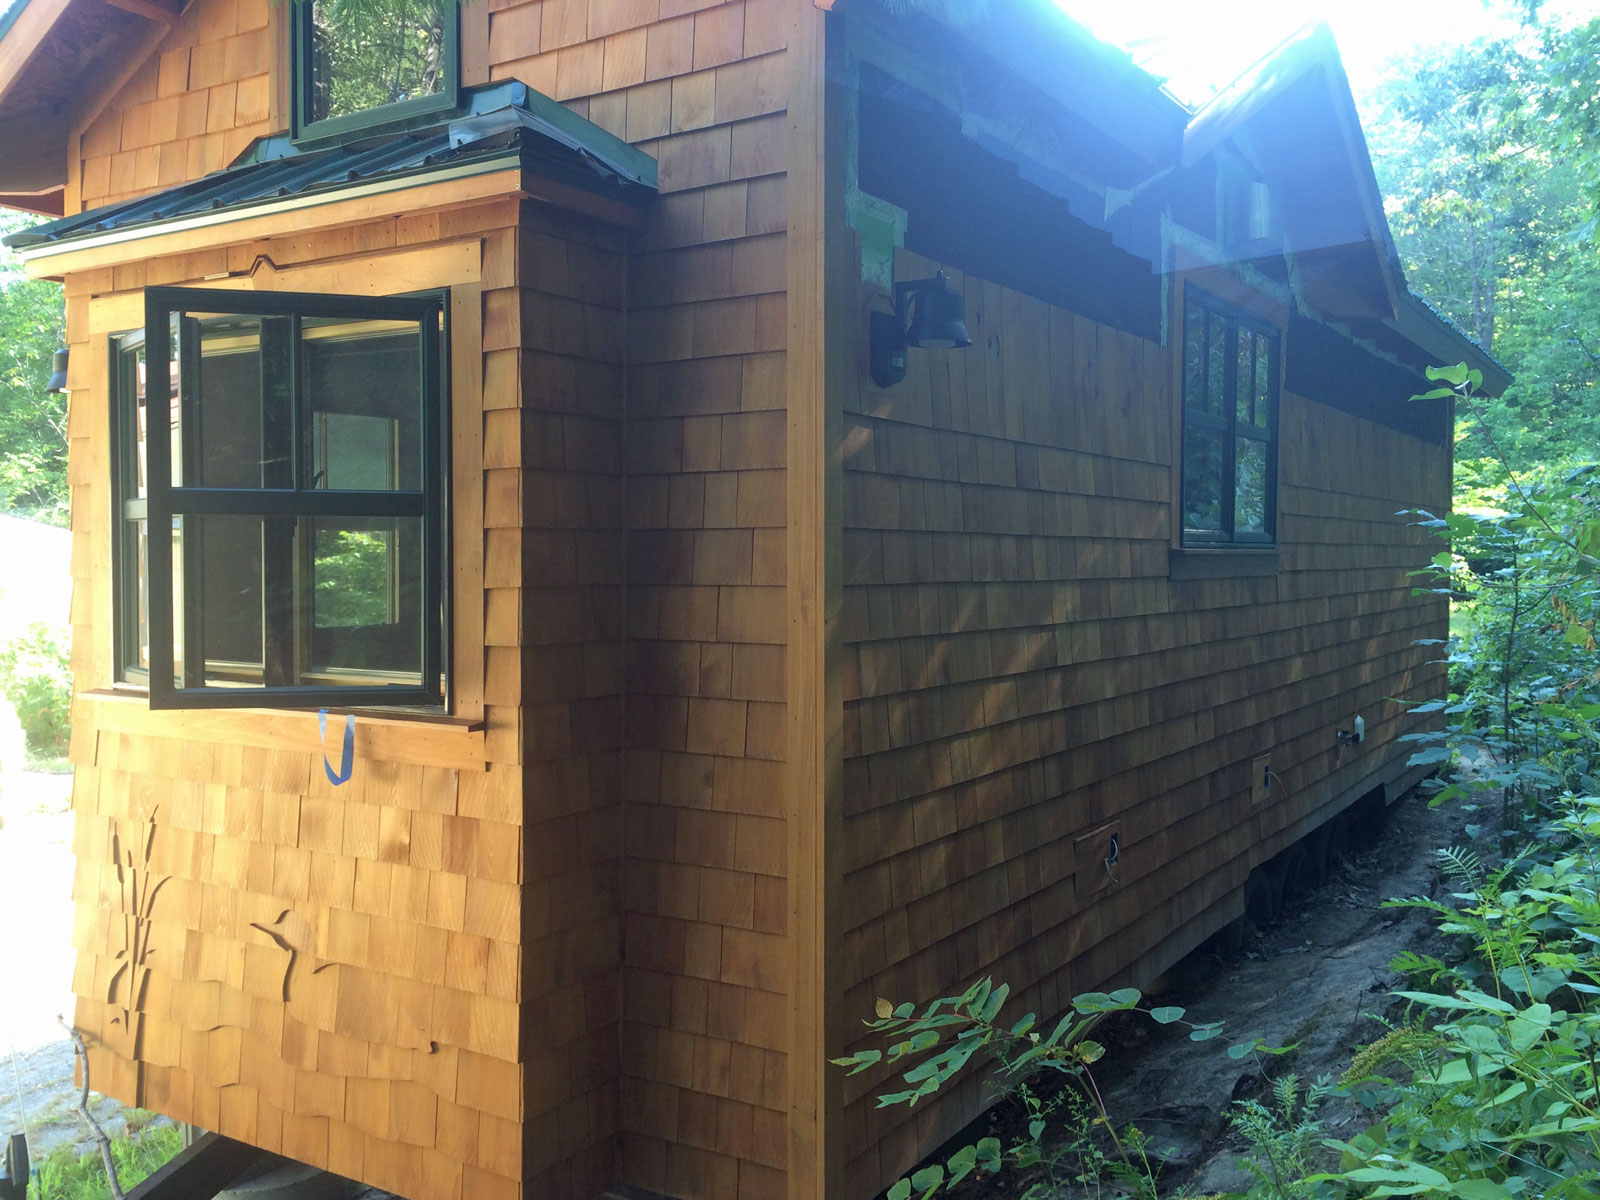
The east wall was another matter, because the opening in the shingles was the size of the smaller trim piece.


To make the larger trim piece fit, I made an angle cut in its bottom edge.


And it fit perfectly!


I stained all sides of the trim pieces, and installed them.


The east end light installed.


The north wall light installed.


I like this style of light a lot better than the first style, and I think it fits me and the house a lot better. This new style wasn't available years ago when I purchased the first set of lights--so maybe this was just a roundabout route to reach the right solution!


Walking around the east end of the JayBee after dark... first, one light came on...


...then, the other. And, it turns out that just the cats walking around does not turn the lights on! Success!


This is one project that proceeded just as I planned and got done quickly. No bad surprises, no delays. Gotta remember this the next time disaster strikes.

Update 22 August 2016: Since we had a hard rain from early to mid morning today, I went out after dark tonight to test the lights. They both came on--and went off--as they should. Apparently they do not fill up with water. Yay!