With exterior work on the JayBee in hibernation this winter, I decided to use the time to work on some interior pieces. I signed up for an adult education woodworking class so I'd have access to an indoor shop with lots of fine tools and expert advice. (One challenge of the class is transporting lumber in my small car every week, since we don't get to store our projects in the shop.) My strategy for the larger projects will be to cut and fit in the shop and then assemble and glue up at home.
My first project is to build the door that will slide into a pocket between the bathroom and kitchen in the JayBee. I found some excellent pocket-door hardware that works in a 2" x 4" wall; very exciting, since I thought I was going to have to make a 6" deep wall to accommodate a pocket door. (Every inch in a tiny house counts for a lot!) Even though the JayBee has only one interior room door, I've designed a style that I hope to repeat on cupboard and closet doors, and on the underbed storage drawers as well, so that the whole tiny place has a similar look and feel throughout.
Step one: I committed my idea to paper and figured out dimensions and a cut list.
Step two: I purchased the wood and brought it to class.
Step three: I cut all the pieces in under an hour in class. It's amazing how much can be accomplished in a short period of time when you have a large space to work in and all the tools already set up.
The course instructor helped me decide on a strategy for creating the panels for the door. We agreed that I would attempt to assemble the door panels at home before the next class.
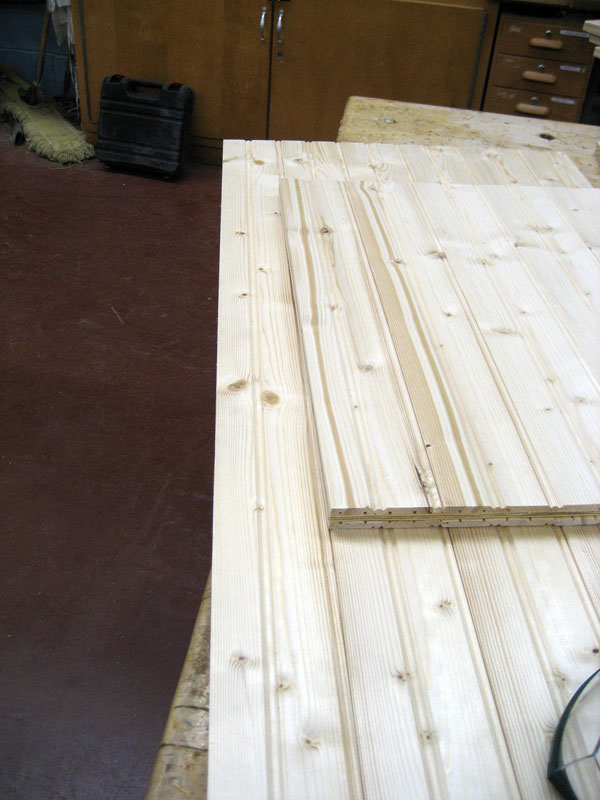
Step four: I cut some 1/4" plywood (outdoors, in the spitting snow!) to use as the innermost layer in the door panels...
...and then turned my kitchen table into a glue-up station for the panels...
...using cinder blocks as "clamps."
Now I have the two panels for the door ready to take to class in a few days. Both sides of each panel have the same look.
Next step is to cut the rabbet joints on the door stiles and rails, and drill holes in the stiles and rails for the dowel joints. Stay tuned...
Also see:
Pocket Door 2
Pocket Door 3
Pocket Door 4
Pocket Door 5
Pocket Door 6