

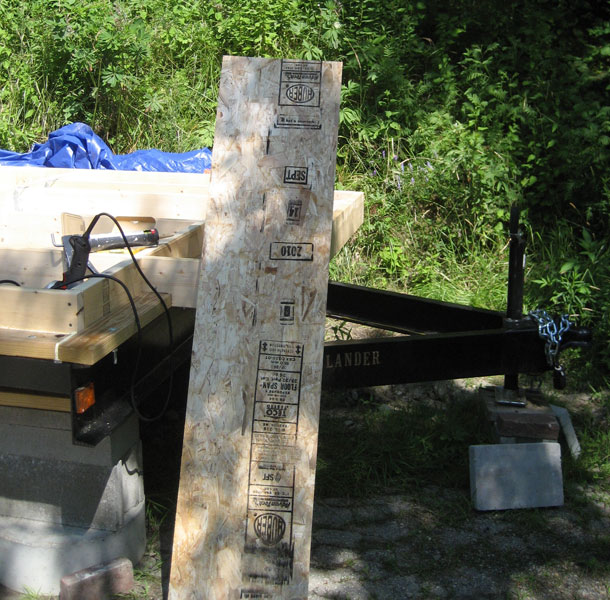
I forgot to take an "after" photo of the entry (but you'll see it later in a photo that shows some insulation installation) because I quickly moved on to cutting a board for the bottom of the bedroom bumpout.

There are times that I think I am the queen of workarounds. How is a person supposed to hold a board up against the underside of something and put screws into it at the same time? I used clamps to hold the board in place. Then I laid on my back on the ground to put in the screws.

After the board was glued and screwed, I added some spray insulation along the cracks/intersections for good measure.

Next, I moved on to installing more insulation in the floor bays. Notice the completed entryway in this shot as well.

Dale and Arlen arrived and started working on subflooring. We absolutely cooked out there! The sun was beating down from above and reflecting off of the radiant barrier at the same time.


I finished installing batts of insulation...

while Dale and Arlen continued cutting and installing plywood.

Even though it looks like Arlen is standing on the radiant barrier and insulation in this next shot, he actually has his feet positioned over some joists.


Before I could screw down all of the plywood sheets, Bear just had to check things out.


After I screwed down all the plywood, things looked pretty good!

Phew! I'm ready for bed...and the sun has not begun to set yet.
Also see:
Subflooring 1
No comments:
Post a Comment